
Creating a balanced and pleasant acoustic environment in your home, studio, or office is essential for comfort and functionality. One of the most effective ways to improve sound quality is by installing grooved acoustic panels. These panels not only enhance sound absorption but also add a modern, stylish touch to any space. In this guide, we’ll walk you through the step-by-step process of installing grooved acoustic panels on both walls and ceilings, ensuring a professional and long-lasting result.
Why Choose Grooved Acoustic Panels?
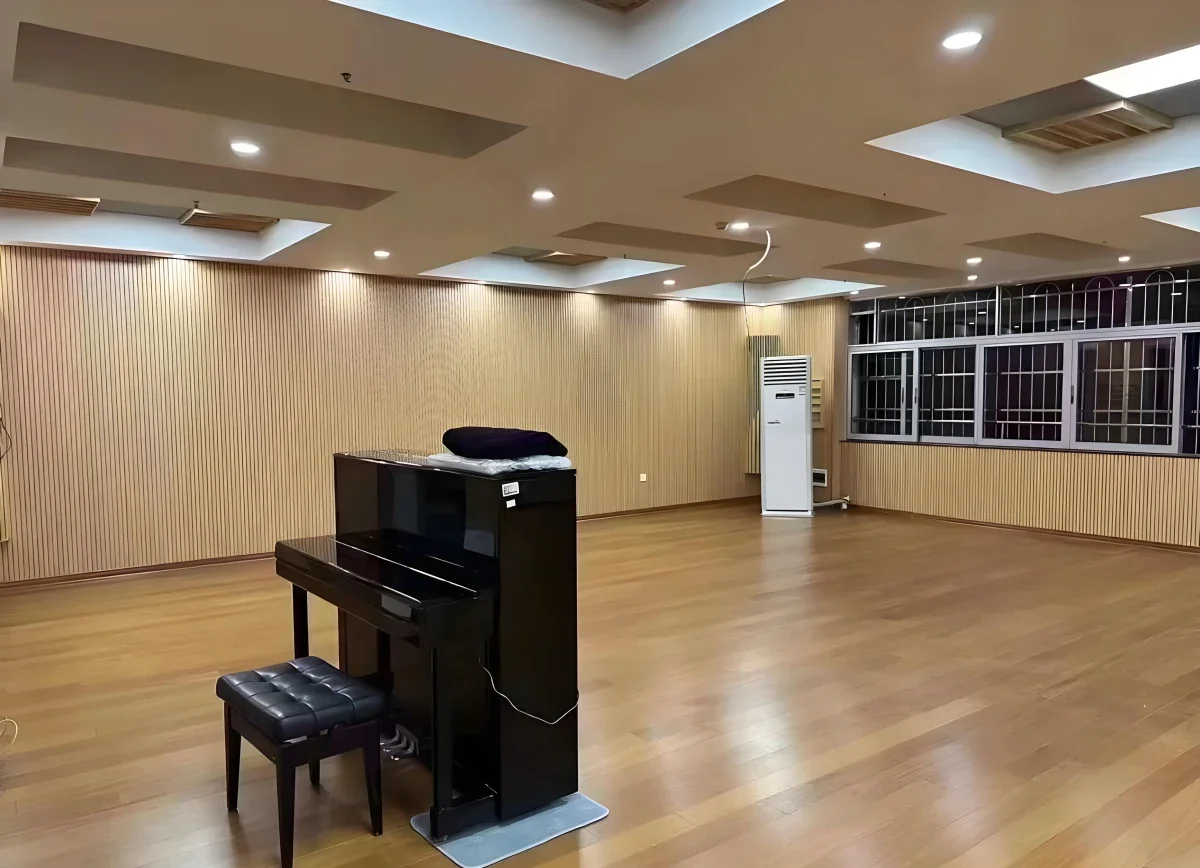
Grooved acoustic panels are designed to diffuse and absorb sound waves, reducing echo and reverberation in a room. Their unique grooved surface increases the surface area, enhancing their acoustic performance. Whether you’re setting up a home theater, recording studio, or open-plan office, these panels can significantly improve sound clarity.
Beyond their functional benefits, grooved acoustic panels come in a variety of finishes and colors, making them a versatile design element. They can be installed on both walls and ceilings, offering flexibility in placement depending on your room’s layout and acoustic needs.
Tools and Materials You’ll Need
Before starting the installation, gather the following tools and materials:
- Grooved acoustic panels
- Measuring tape
- Level
- Pencil
- Construction adhesive or panel adhesive
- Adhesive caulk gun (if using tube adhesive)
- Panel clips or mounting brackets (optional, for ceilings or removable installations)
- Drill and screws (if using mechanical fasteners)
- Safety goggles and gloves
Step-by-Step Installation Guide
1. Plan Your Layout
Begin by measuring the wall or ceiling area where you plan to install the panels. Decide on the layout pattern—common options include a grid, staggered rows, or a custom design. Use a pencil and level to mark horizontal and vertical guidelines to ensure straight alignment.
Tip: Leave a small gap (about 1/8 inch) between panels to allow for expansion and create a clean, professional look.
2. Prepare the Surface
Ensure the wall or ceiling surface is clean, dry, and free of dust, grease, or loose material. This helps the adhesive bond properly. For painted surfaces, lightly sand if the paint is glossy to improve adhesion.
3. Apply Adhesive
Squeeze a construction-grade acoustic panel adhesive in a zigzag or bead pattern across the back of the panel. Avoid applying too much adhesive, which can squeeze out when the panel is pressed into place.
For ceiling installations, apply adhesive more densely to prevent sagging during curing.
4. Mount the Panels
Starting from one corner, carefully press the panel onto the wall or ceiling, aligning it with your layout marks. Use a level to ensure it’s straight. Apply firm, even pressure for 30–60 seconds to secure the bond.
If installing on the ceiling, you may want to use temporary supports (like painter’s tape or braces) to hold the panel in place until the adhesive sets.
5. Secure with Clips or Fasteners (Optional)
For added stability—especially on ceilings or high-traffic areas—use panel clips or mounting brackets. These can be screwed into the wall or ceiling frame and then snapped over the edges of the panels.
This method also allows for easier removal or repositioning in the future.
6. Repeat and Finish
Continue installing panels one by one, checking alignment and spacing as you go. Wipe off any excess adhesive immediately with a damp cloth.
Once all panels are installed, allow the adhesive to cure fully (typically 24–48 hours) before subjecting the area to heavy use.
Tips for a Professional Finish
- Always wear gloves and safety goggles when handling tools and adhesives.
- Work in a well-ventilated area when using adhesives.
- Test a small panel in an inconspicuous area first to ensure compatibility with your surface.
- For large rooms, consider hiring a professional to ensure even sound distribution and visual symmetry.
Maintenance and Care
Grooved acoustic panels are low-maintenance. Dust them occasionally with a soft cloth or vacuum with a brush attachment. Avoid using harsh chemicals or excessive moisture, which can damage the material.
Final Thoughts
Installing grooved acoustic panels is a smart investment in both sound quality and interior aesthetics. With the right tools, a bit of planning, and careful execution, you can transform any space into an acoustically balanced environment. Whether you’re a DIY enthusiast or a professional installer, this guide provides all the steps you need for a successful installation on walls and ceilings.